Systemwide Settings
Systemwide Settings set and control all customization options for your firm that, when changed, affect every user within the firm. This includes your firm’s name, address, satellite and/or secondary offices, invoice and time-tracking settings, and more.
Note
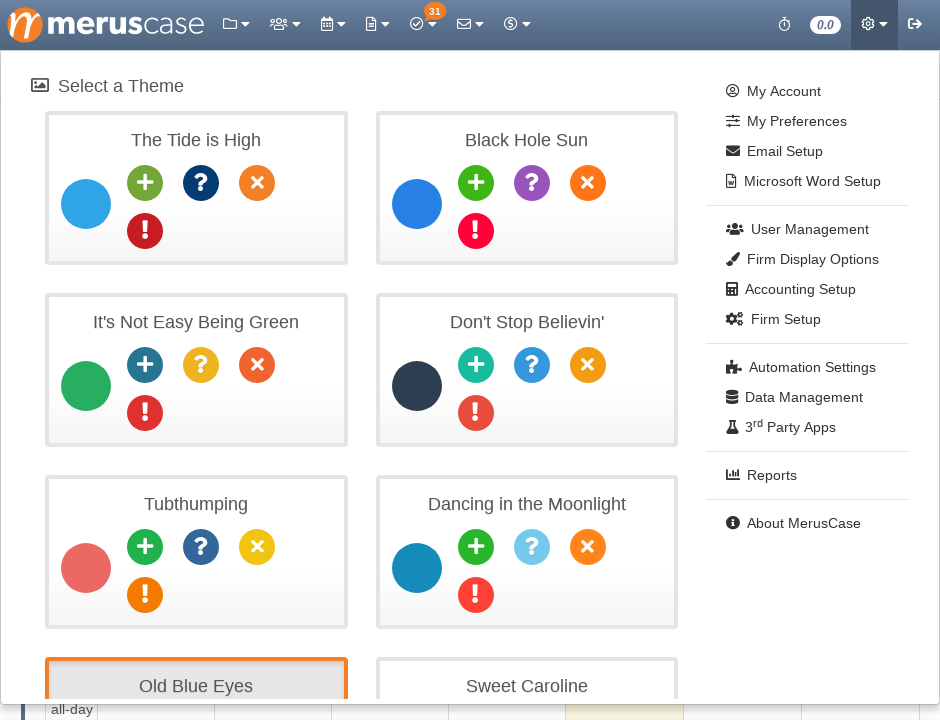
Only Firm Administrators can access Systemwide Settings.To navigate to Systemwide Settings, click on Tools & Settings in the upper right-hand part of your screen displayed as a gear. Then click on Firm Setup. Once this has been clicked, on the left-hand side you will see options under the Systemwide Settings menu.
Display Options
Activity Tags
Activity Tags are like labels within MerusCase which help categorize and tag actions taken within a case (i.e. Case Activities). Using Activity Tags allows a user to quickly find a Note or Telephone Call seamlessly without having to skim through 100s of actions within a case.
There are many Activity Tags that are built into the system. These system tags are not editable and many will not be visible as an option when adding tags to an activity. Many built-in tags are used when an action automatically creates an activity within a case. For example, when creating a Court Form (and clicking save), the Activity Tag “Form Created” is automatically used to tag the activity created in the case.
Refer to Case Activities for documentation regarding adding an activity tag to a new or existing activity.
Creating a New Activity Tag
Not all law firms are the same. Therefore, not all Activity Tags will be either, which is why MerusCase allows each firm to setup as many customizable Activity Tags as necessary.
Pro-Tip
Although there is no limit to how many Activity Tags can be created, it is advised that a firm create tags methodically and sparingly so that your colleagues are not overwhelmed by an extensive list of options when tagging activities.To add a new Activity Tag:
- Click on the New Activity Tag button.
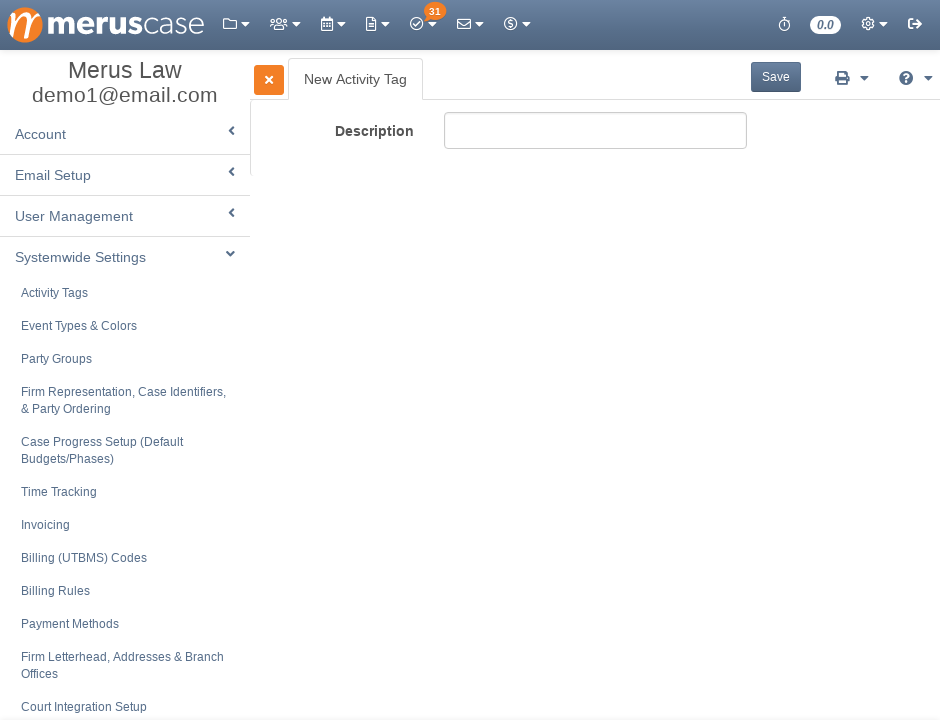
-
Enter a Description. The Description is what will be displayed as the Tag Name.
-
Click Save.
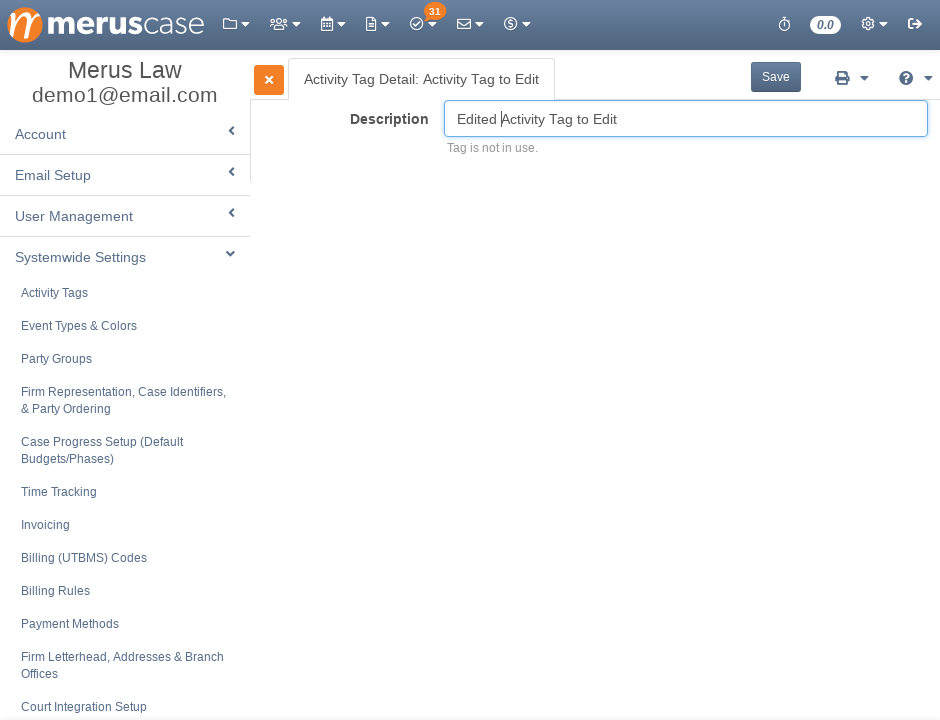
Editing an Existing Activity Tag
-
Click on the line item you want to edit.
-
Edit the fields as necessary and click Save.
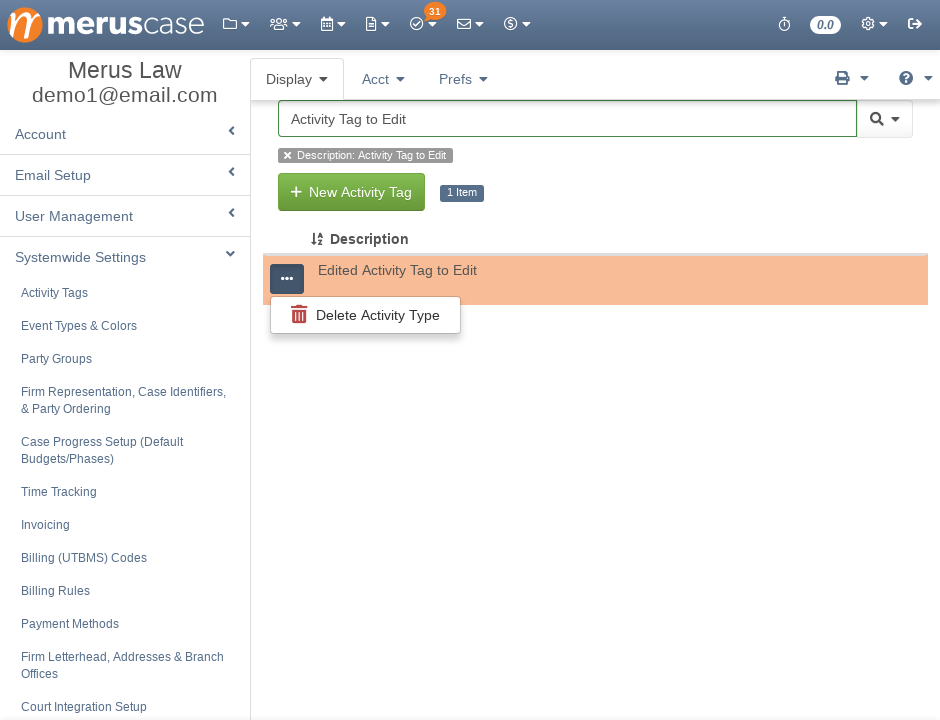
Deleting an Activity Tag
For many tables in MerusCase, there will be what’s called a control column. The color of the control column will change based on the theme being used, but it will consistently display three dots in the form of an ellipsis.
This control column is where additional options for each line item will be.
To delete, click on the Control Column (displayed as three little dots) next to the desired line item and select Delete.
Generally, anytime a user deletes an item, a popup message will appear asking for confirmation from the user.
If the selected Activity Tag is not used within the system, the message will simply request confirmation to delete. However, if the selected Activity Tag is used within the system, MerusCase will force the user to select a replacement Activity Tag.
Filtering Activity Tags
Any table in MerusCase allows for filtering across any of the columns on your screen to provide the user a tailored list within the system. In other words, use the filter to quickly find a specific line item within the table.
Additionally, MerusCase supports the use of multiple filters at once. For instance, a user can search for all open (by the Case Status column) cases within Browse Cases and then apply a second filter to then search for Assigned to Me (by the Staff column) within those open cases.
To apply multiple filters, enter the first filter then click on the magnifying glass. On click, a drop-down window will appear. Click Add Filter and toggle what to filter by.
Select Always use this column if you wish to always use the same filter type. Many firms find it particularly useful to select this option when filtering for cases, forms, or templates.
Pro-Tip
MerusCase filtering has very powerful Search and Filter Tricks available to you, such as Custom Filter Shortcuts, powerful keywords, Preset Filters and even more!To remove a filter, click on the added filter button (each applied filter appears as a button underneath the Search/Filter bar). For example, to remove the filter for open cases, click on the button Status: Open underneath the Search/Filter bar.
Event Types & Colors
Event Types allow users to color code and classify events. For example, many firms find it useful to always mark Court Dates or Statutes in red.
All firms in MerusCase automatically have a few default event types, including Statute, Statute Satisfied, and two event types labeled Default. These are built into the system and, therefore, cannot be deleted.
See Calendar & Events for more details on adding and managing events within the firm.
Creating a New Event Type
To add a new Event Type:
- Click on New Event Type.
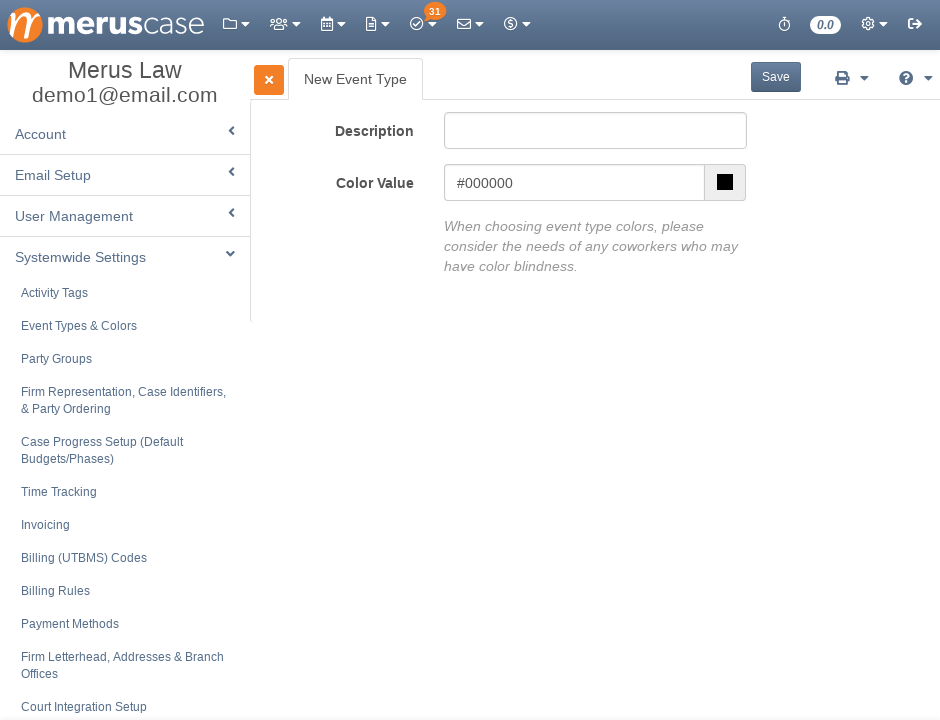
- Enter a description and color as prompted.
The Description is the display name for the Event Type.
The Color Value chosen is the color the Event Type will be displayed as in Firm Calendar. Pick a color value by typing in a hex value or by using the Color Picker.
Note
When choosing event type colors, or when editing an existing event type's color setting, please be mindful of the needs of any users in your firm who may experience colorblindness.Editing an Event Type
-
Click on the line item you want to edit.
-
Edit the fields as necessary and click Save.
Deleting an Event Type
For many tables in MerusCase, there will be what’s called a control column. The color of the control column will change based on the theme being used, but it will consistently display three dots in the form of an ellipsis.
This control column is where additional options for each line item will be.
To delete, click on the Control Column (displayed as three little dots) next to the desired line item and select Delete.
Generally, anytime a user deletes an item, a popup message will appear asking for confirmation from the user.
If the selected Event Type is not used within the system, the message will simply request confirmation to delete. However, if the selected Event Type is used within the system, MerusCase will force the user to select a replacement Event Type.
Note
Changes made while editing or deleting will affect all events with this type for all of time (past, present, and future).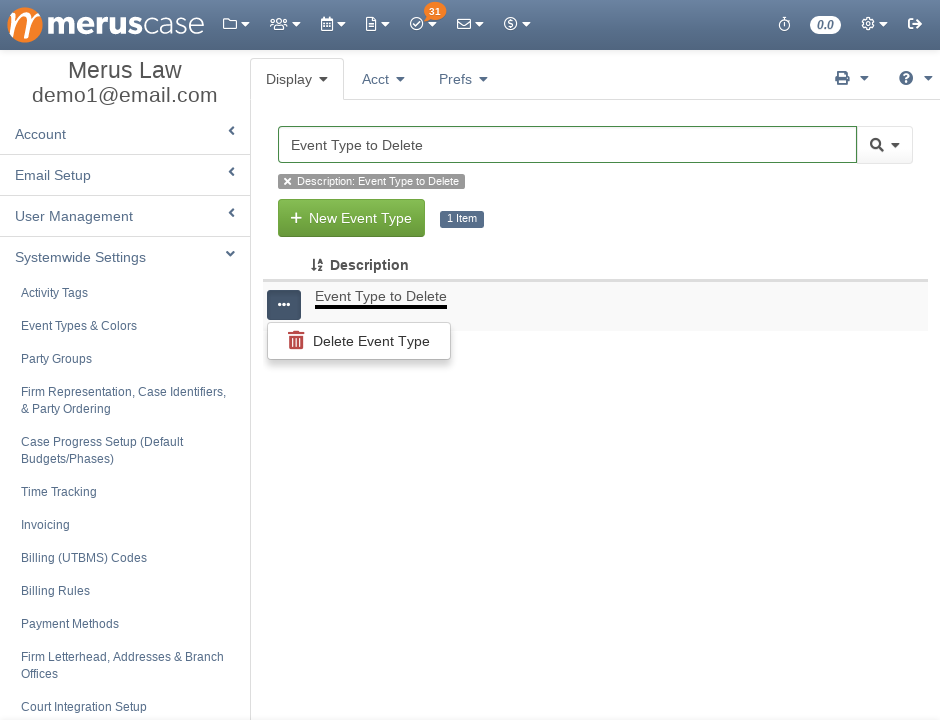
Filtering Event Types
Any table in MerusCase allows for filtering across any of the columns on your screen to provide the user a tailored list within the system. In other words, use the filter to quickly find a specific line item within the table.
Additionally, MerusCase supports the use of multiple filters at once. For instance, a user can search for all open (by the Case Status column) cases within Browse Cases and then apply a second filter to then search for Assigned to Me (by the Staff column) within those open cases.
To apply multiple filters, enter the first filter then click on the magnifying glass. On click, a drop-down window will appear. Click Add Filter and toggle what to filter by.
Select Always use this column if you wish to always use the same filter type. Many firms find it particularly useful to select this option when filtering for cases, forms, or templates.
Pro-Tip
MerusCase filtering has very powerful Search and Filter Tricks available to you, such as Custom Filter Shortcuts, powerful keywords, Preset Filters and even more!To remove a filter, click on the added filter button (each applied filter appears as a button underneath the Search/Filter bar). For example, to remove the filter for open cases, click on the button Status: Open underneath the Search/Filter bar.
Party Groups
Party Groups allow users to classify individuals and companies into custom categories within the Parties tab.
Pro-Tip
Party Groups are useful for any Law Type that has a long list of participants or for any firm that would like to categorize and separate the prosecution and defense within the case. This includes, but is not limited to, Personal Injury (e.g. Medical Providers and Witnesses), Family Law, Real Estate Law (e.g. Buyer and Seller), etc.Creating a Party Group
To add a new Party Group:
- Click on New Party Group.
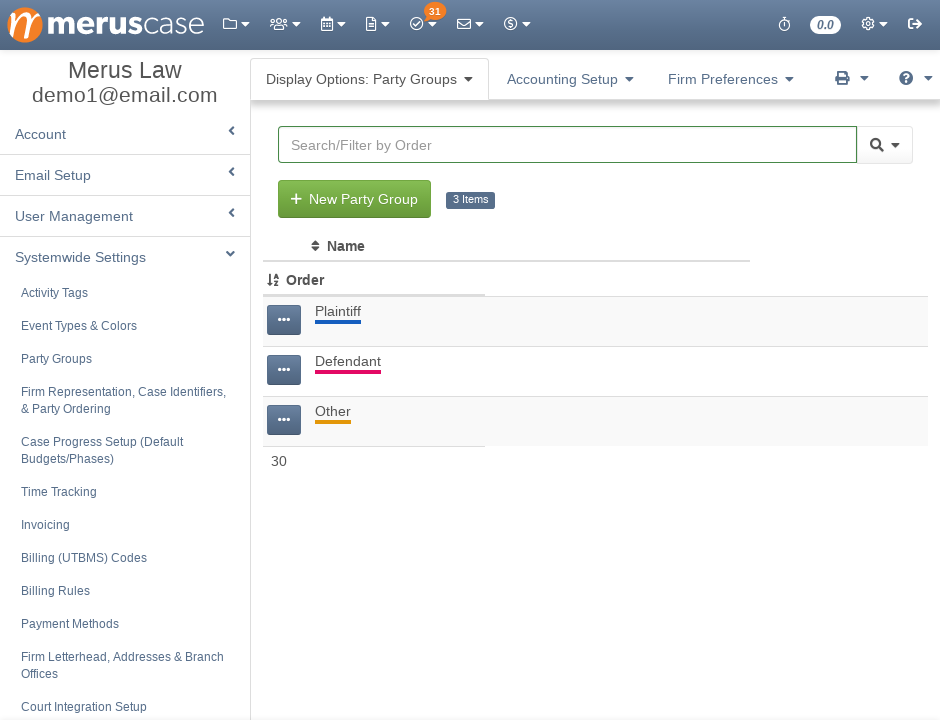
- Enter a name, order, and color as prompted.
The Name determines the group’s title which is diplayed in the Parties Tab in a case (once a party on that case is assigned to a group). The Order field determines the order this Party Group is displayed both in Party Edit and in this Party Groups Table. The Color Value chosen is the color the Party Group will be displayed as in the Parties Tab. Pick a color value by typing in a hex value or by using the Color Picker.
Editing a Party Group
-
Click on the line item you want to edit.
-
Edit the fields as necessary and click Save.
Deleting a Party Group
For many tables in MerusCase, there will be what’s called a control column. The color of the control column will change based on the theme being used, but it will consistently display three dots in the form of an ellipsis.
This control column is where additional options for each line item will be.
To delete, click on the Control Column (displayed as three little dots) next to the desired line item and select Delete.
Generally, anytime a user deletes an item, a popup message will appear asking for confirmation from the user.
Filtering Party Groups
Any table in MerusCase allows for filtering across any of the columns on your screen to provide the user a tailored list within the system. In other words, use the filter to quickly find a specific line item within the table.
Additionally, MerusCase supports the use of multiple filters at once. For instance, a user can search for all open (by the Case Status column) cases within Browse Cases and then apply a second filter to then search for Assigned to Me (by the Staff column) within those open cases.
To apply multiple filters, enter the first filter then click on the magnifying glass. On click, a drop-down window will appear. Click Add Filter and toggle what to filter by.
Select Always use this column if you wish to always use the same filter type. Many firms find it particularly useful to select this option when filtering for cases, forms, or templates.
Pro-Tip
MerusCase filtering has very powerful Search and Filter Tricks available to you, such as Custom Filter Shortcuts, powerful keywords, Preset Filters and even more!To remove a filter, click on the added filter button (each applied filter appears as a button underneath the Search/Filter bar). For example, to remove the filter for open cases, click on the button Status: Open underneath the Search/Filter bar.
Case Identifier & Party Order
Secondary Case Identifier
The Secondary Case Identifier refers to the Case Number displayed when browsing cases as well as in the left-panel when in a case.
Select from the 2 options:
- Let Merus assign a number incrementally: This option is the default selection for a new firm in MerusCase.
- Use the File Number as set in the Case: This is for firms that have their own file number system either from another LPMS or from a paper based system that they would like to carry over into MerusCase. A file number can be set in the Case Details Tab under Case Info.
Party Ordering
Party Ordering allows a firm to customize the order in which parties are displayed within the Parties tab in a case. Drag and drop the Party Types to the desired order.
Case Progress Setup
Case Progress Setup allows you to manage your Case Progress Templates to organize and optimize your firm’s billing.
Accounting Setup
Time Tracking & Invoices
Time Tracking
Time Tracking: Choose to either show time tracking options by default or disable it by unchecking the checkbox.
Check the checkbox if you want to include courtesy billing time in daily total (Today’s Billable Time).
Ledgers & Charges: In this section, you may hide dollar amounts so that only Power Users with Accounting and Administrators can see it.
Change the Minimum Time Increment to 3 minutes, 6 minutes, or 15 minutes. Note: The billing time increment set in the case’s billing info trumps the increment set in the contact’s billing setup which in turn trumps the increment set here in the firm preferences.
You may select the checkbox to enforce a Predefined Description when Recording New Case Ledger Entries. This applies to non e-bill cases. UTBMS-only cases are always enforced.
You can set the Maximum Length of Ledger Descriptions by entering a number in the textbox. By default, the maximum length is set to 65,535.
Invoicing
Here, you can set a fixed Late Fee Percentage for your invoices as well as the corresponding Invoicing Terms to determine how many days can elapse before an invoice is considered Past Due.
Invoice Appearance: This section gives you a variety of customization options for how the invoice is displayed, ranging from formatting and defaults for certain fields to which info is actually displayed on the invoice and how it’s organized.
Default Billing Disposition: Used for LEDES exporting.
Margins & Spacing: The page margins as well as the specific margins of certain areas of the invoice are editable here.
Reference/Memo Section: Select which info would you like to show/hide in the invoice’s Reference/Memo field.
Billing (UTBMS) Codes
The Uniform Task Based Management System (UTBMS) is a series of codes used to “classify the legal services performed by a law firm in an electronic invoice submission”. It’s part of the Legal Electronic Data Exchange Standard (LEDES). Firms that represent corporations are sometimes required to bill their services with UTMBS codes.
If you want to change the settings for a case, such that you only use UTMBS codes, then you’ll need to go to your case details of that case. Select the option you want in the Predefined Billing Descriptions setting in Case Info.
MerusCase supports UTBMS codes for Billable Expenses, Case Ledger, Activity and Task Codes, and more. Similarly, if you don’t want to use any UTBMS codes on a case, then you have that option, too.
Pro-Tip
In order to view any new billing codes a Firm Administrator has just entered, a user will need to refresh his/her browser to start using them.Note
Quickly select an "L-" or "A-code" by typing the desired "L-" code.Creating a New Billing Code
To add a new Billing Code click on the New Billing Code button. On a widescreen monitor, the New Billing Code view will be displayed in the right-panel. For smaller devices, the panel will take up the entire screen.
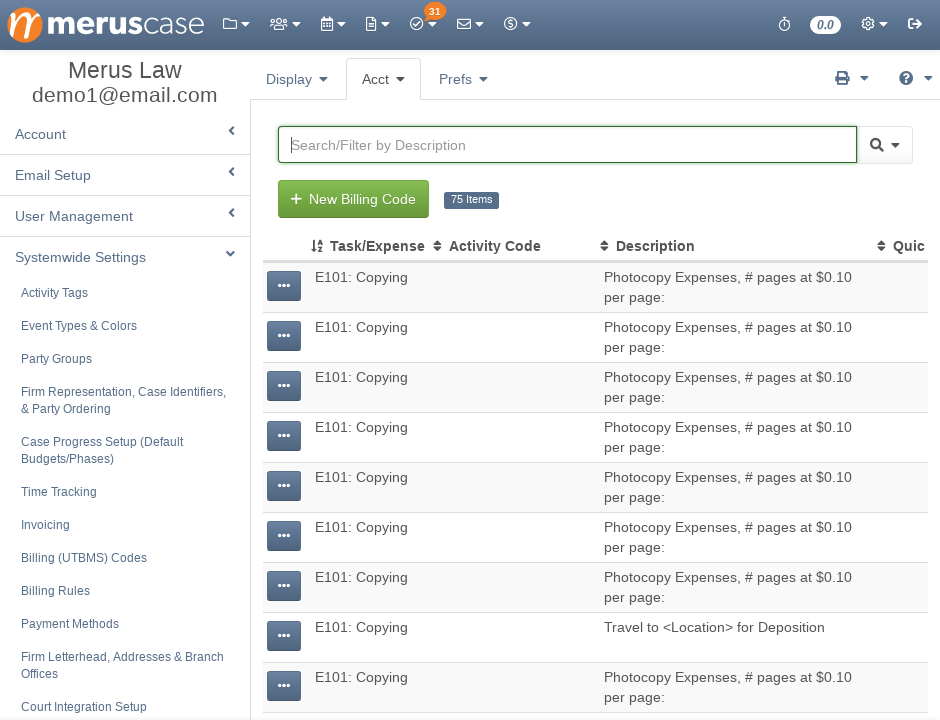
Enter in all necessary information as prompted and click Save.
Editing a Billing Code
-
Click on the line item you want to edit.
-
Edit the fields as necessary and click Save.
Deleting a Billing Code
For many tables in MerusCase, there will be what’s called a control column. The color of the control column will change based on the theme being used, but it will consistently display three dots in the form of an ellipsis.
This control column is where additional options for each line item will be.
To delete, click on the Control Column (displayed as three little dots) next to the desired line item and select Delete.
Generally, anytime a user deletes an item, a popup message will appear asking for confirmation from the user.
Filtering Billing Codes
Any table in MerusCase allows for filtering across any of the columns on your screen to provide the user a tailored list within the system. In other words, use the filter to quickly find a specific line item within the table.
Additionally, MerusCase supports the use of multiple filters at once. For instance, a user can search for all open (by the Case Status column) cases within Browse Cases and then apply a second filter to then search for Assigned to Me (by the Staff column) within those open cases.
To apply multiple filters, enter the first filter then click on the magnifying glass. On click, a drop-down window will appear. Click Add Filter and toggle what to filter by.
Select Always use this column if you wish to always use the same filter type. Many firms find it particularly useful to select this option when filtering for cases, forms, or templates.
Pro-Tip
MerusCase filtering has very powerful Search and Filter Tricks available to you, such as Custom Filter Shortcuts, powerful keywords, Preset Filters and even more!To remove a filter, click on the added filter button (each applied filter appears as a button underneath the Search/Filter bar). For example, to remove the filter for open cases, click on the button Status: Open underneath the Search/Filter bar.
Billing Rules
Billing Rules are a powerful tool which allows you to restrict billing in a number of ways, including by hours per day/week/month and/or per user/case/contact, only allowing certain users or staff roles to create ledger items, enforcing hour limits on the Phases within cases’ respective Case Progress Templates, and more.
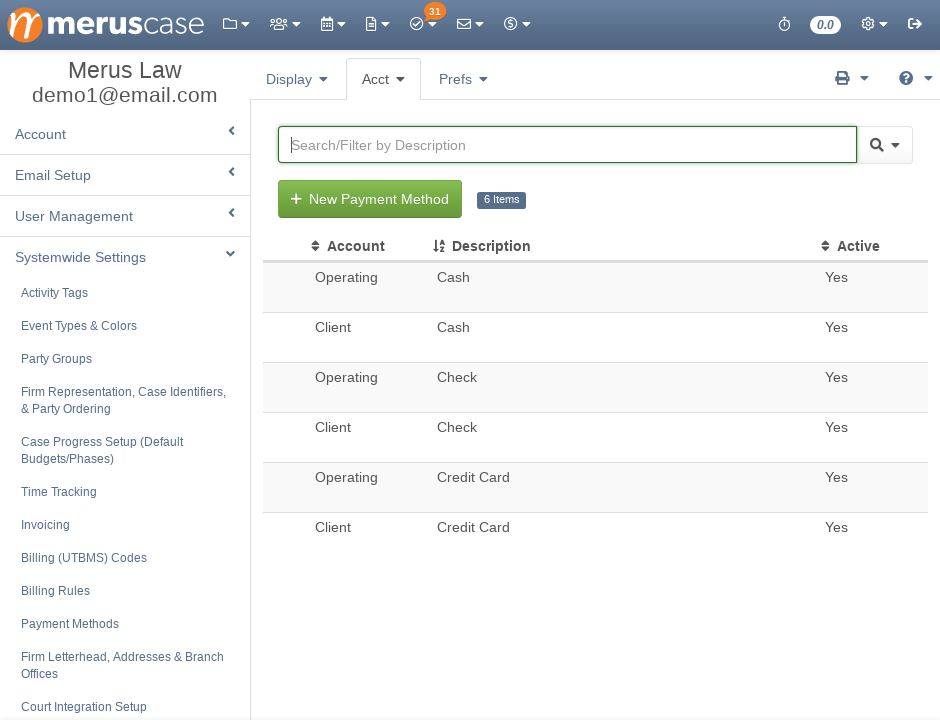
Payment Methods
Use Payment Methods to view, edit, and add new payment methods for your firm. Any payment methods displayed in this table will be available as Payment Method options when recording a new payment on an open invoice when Managing the Books.
Creating a New Payment Method
To add a new Payment Method, click on New Payment Method.
On click, the edit/create view appears. On a wide-screen monitor, the edit/new fields will appear in a two-panel view.
Editing a Payment Method
-
Click on the line item you want to edit.
-
Edit the fields as necessary and click Save.
Deleting a Payment Method
Payment methods cannot be deleted, only deactivated.
To deactivate a payment method, click on the row of the desired payment method. On click, the Payment Method details will appear. Select No from the Active dropdown menu and click Save.
Once deactivated, the payment method will be displayed as red in the Payment Methods list. Additionally, the Active column will be updated to No.
Filtering Payment Methods
Any table in MerusCase allows for filtering across any of the columns on your screen to provide the user a tailored list within the system. In other words, use the filter to quickly find a specific line item within the table.
Additionally, MerusCase supports the use of multiple filters at once. For instance, a user can search for all open (by the Case Status column) cases within Browse Cases and then apply a second filter to then search for Assigned to Me (by the Staff column) within those open cases.
To apply multiple filters, enter the first filter then click on the magnifying glass. On click, a drop-down window will appear. Click Add Filter and toggle what to filter by.
Select Always use this column if you wish to always use the same filter type. Many firms find it particularly useful to select this option when filtering for cases, forms, or templates.
Pro-Tip
MerusCase filtering has very powerful Search and Filter Tricks available to you, such as Custom Filter Shortcuts, powerful keywords, Preset Filters and even more!To remove a filter, click on the added filter button (each applied filter appears as a button underneath the Search/Filter bar). For example, to remove the filter for open cases, click on the button Status: Open underneath the Search/Filter bar.
Firm Preferences
Firm Letterhead, Addresses & Branch Offices
MerusCase supports any firm, regardless of size. So, whether your firm has one location, 10, or 30, managing the information for each branch is easy!
Each Office Branch Location can have its own address, firm letterhead which helps customize templates within MerusCase, and more.
Creating a New Branch Office
To create a new branch office, click the New Branch Office Location button.
On click, the edit/create view appears. On a wide-screen monitor, the edit/new fields will appear in a two-panel view.
Editing a Branch Office
To edit the Company Record for the desired Branch Office, click on the control column and select View Contact Record. On click, the edit view for Company Details will appear. On a widescreen monitor, this view will be displayed on the right-panel. On a mobile device, this view will be displayed on the entire screen.
Make all desired changes and click Save. To return to the Branch Office view, simply click the ‘X’ button to close right-panel.
Note
Refer to documentation on Contacts for more guidance on editing your company records.To edit the Envelope Return Address, Default Venue, or Office Label for a Branch Office, click on the row of the desired branch office. On click, Branch Office Details will appear. On a widescreen monitor, this view will be displayed on the right-panel. On a mobile device, this view will be displayed on the entire screen.
From Branch Office Details click Edit. From here you can view/edit the Office Label, Default Venue, and Return Address for Envelopes.
Click Save once all changes have been made.
Pro-Tip
Editing the Envelope Return Address only changes the mailing address for envelope-printing. To change the branch's permanent address, you must also edit the branch's Company Record. See Contacts for more details.Deleting a Branch Office
To delete, click on the Control Column (displayed as three little dots) next to the desired line item and select Delete.
Generally, anytime a user deletes an item, a popup message will appear asking for confirmation from the user.
Note
Deleting an office branch location here will not delete the company record in your firm's rolodex. To remove all records of the deleted office, you will need to browse your firm's rolodex for your firm name, and delete the record associated with the deleted branch.Filtering Branch Offices
Any table in MerusCase allows for filtering across any of the columns on your screen to provide the user a tailored list within the system. In other words, use the filter to quickly find a specific line item within the table.
Additionally, MerusCase supports the use of multiple filters at once. For instance, a user can search for all open (by the Case Status column) cases within Browse Cases and then apply a second filter to then search for Assigned to Me (by the Staff column) within those open cases.
To apply multiple filters, enter the first filter then click on the magnifying glass. On click, a drop-down window will appear. Click Add Filter and toggle what to filter by.
Select Always use this column if you wish to always use the same filter type. Many firms find it particularly useful to select this option when filtering for cases, forms, or templates.
Pro-Tip
MerusCase filtering has very powerful Search and Filter Tricks available to you, such as Custom Filter Shortcuts, powerful keywords, Preset Filters and even more!To remove a filter, click on the added filter button (each applied filter appears as a button underneath the Search/Filter bar). For example, to remove the filter for open cases, click on the button Status: Open underneath the Search/Filter bar.
View/Upload Letterhead
Click on the line for the branch office whose letterhead you wish to add/modify. Its details will open in the right-panel view.
If the branch office in question has never had a letterhead set before, you will see an Upload button above a blank preview area on the right. Click on said button to add this office’s letterhead.
If the branch office already has a letterhead, you will see two buttons:
- Download: Downloads a copy of the current letterhead. Useful for when you want to edit the letterhead but don’t have a recent copy stashed somewhere.
- Replace: Allows you to choose a file on your computer to upload as the replacement letterhead.
Court Integration Setup
Electronic Adjudication Management System (EAMS)
EAMS is a California specific integration. For more information about EAMS, see the Division of Workers’ Compensation (DWC) website.
Electronic Filing (JET): Select whether you want to file DWC packets with your own DWC Jet File Account, or let MerusCase submit to the DWC on your behalf.
If selecting “I have my own DWC JET File Account”, enter your JET account login and password.
If selecting Let MerusCase submit to the DWC on my behalf, an authorization form must be signed and emailed to Merus, Inc. before Third Party Filing can be activated. This is a court requirement. Fill in the Form that is automatically generated by clicking on the checkbox. Generate the Authorization Form and email to Merus, Inc. via the MerusCase Support email once the form has been signed (either physically or electronically).
See JET Filing with MerusCase for more information on how to file within MerusCase.
Once all changes have been made, remember to click Save!