Automation Setup
Automation Setup houses powerful tools that allow a firm administrator to create and customize streamlined processes based on the firm’s law type. Workflows and Statutes utilize MerusCase’s transparent tasking and calendar tools to automatically create firm specific reminders and to-do lists.
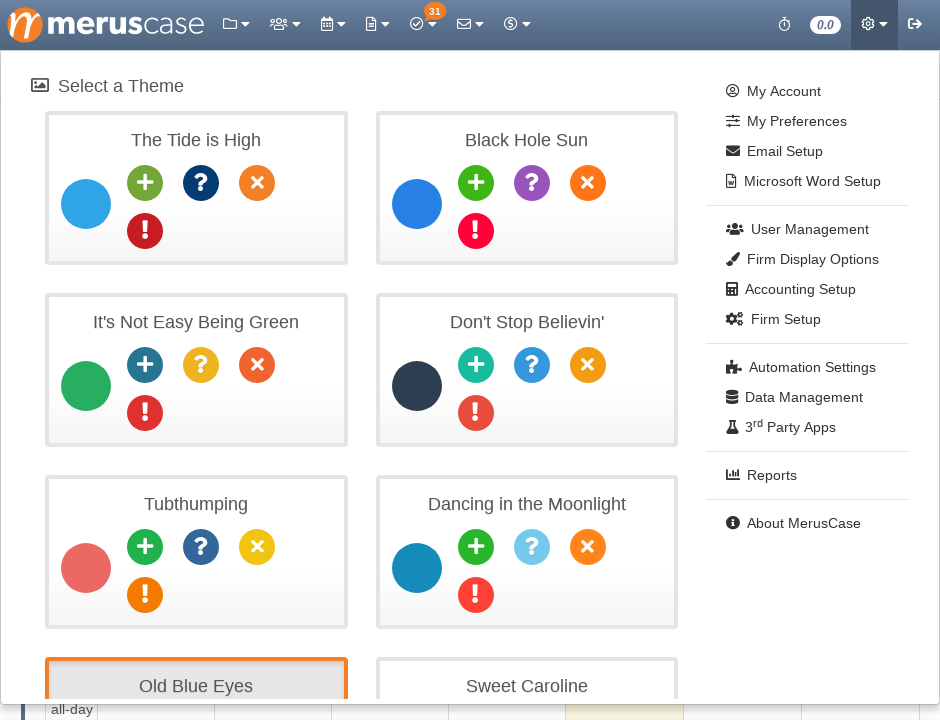
To navigate to Automation Setup, click on Tools & Settings in the upper right-hand part of your screen displayed as a gear. Then click on Automation Settings.
Note
Only Firm Administrators can access Automation Settings.Statutes
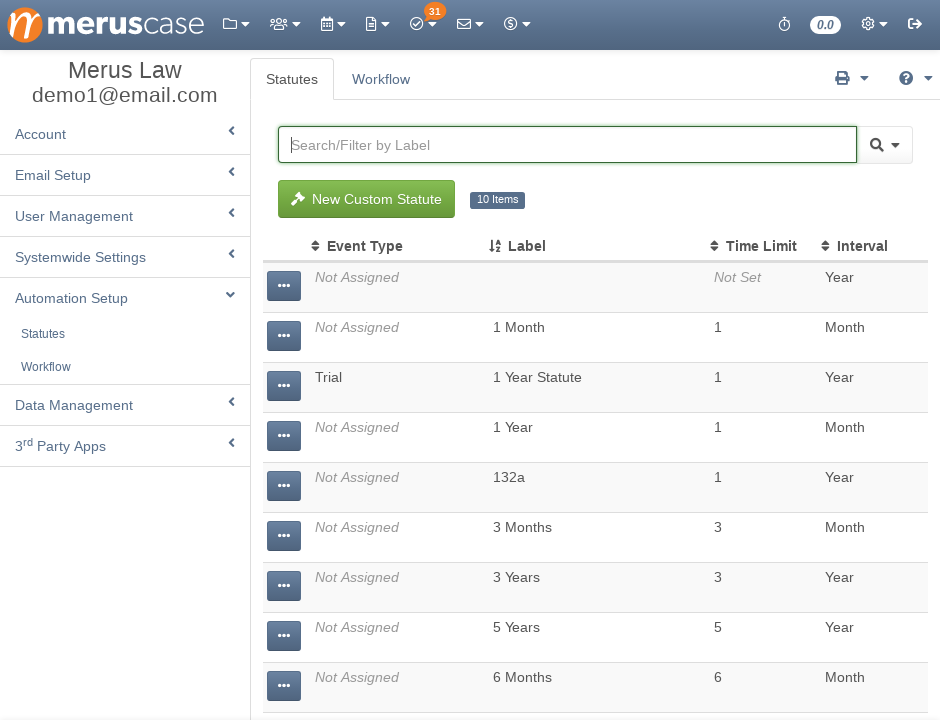
The Statutes feature in MerusCase provides firms the ability to automatically add an event to a specific case and firm calendar based on a custom interval of time.
Statutes are especially useful for Personal Injury and Workers’ Compensation case types as setting a Statute within the Injury/Incident Details will
create an event that warns the firm when the statute of limitations is coming up for that DOI (Date of Injury/Incident).
Note
Each statute uses a selected Event Type to set a date in the case and firm calendar. Therefore, it may be useful to ensure a custom Event Type has already been created within the firm prior to adding a new Statute.Adding a New Statute
-
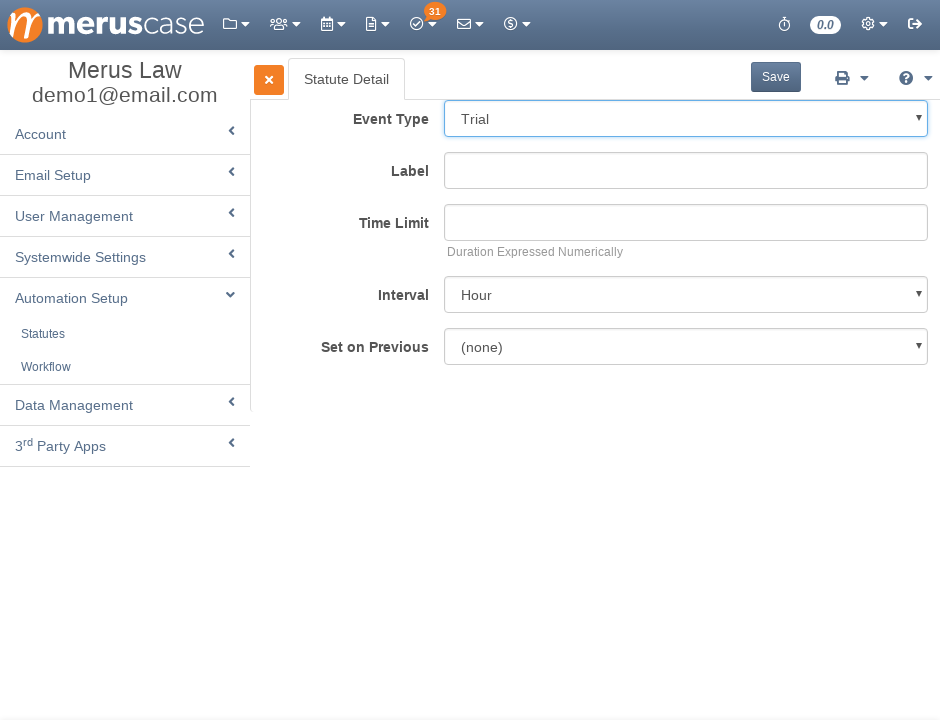
To add a new Statute click on the New Custom Statute button.
-
Enter the details as prompted.
-
Click Save.
Editing a Statute
-
Click on the line item you want to edit.
-
Edit the fields as necessary and click Save.
Deleting a Statute
For many tables in MerusCase, there will be what’s called a control column. The color of the control column will change based on the theme being used, but it will consistently display three dots in the form of an ellipsis.
This control column is where additional options for each line item will be.
To delete, click on the Control Column (displayed as three little dots) next to the desired line item and select Delete.
Generally, anytime a user deletes an item, a popup message will appear asking for confirmation from the user.
Filtering Statutes
Any table in MerusCase allows for filtering across any of the columns on your screen to provide the user a tailored list within the system. In other words, use the filter to quickly find a specific line item within the table.
Additionally, MerusCase supports the use of multiple filters at once. For instance, a user can search for all open (by the Case Status column) cases within Browse Cases and then apply a second filter to then search for Assigned to Me (by the Staff column) within those open cases.
To apply multiple filters, enter the first filter then click on the magnifying glass. On click, a drop-down window will appear. Click Add Filter and toggle what to filter by.
Select Always use this column if you wish to always use the same filter type. Many firms find it particularly useful to select this option when filtering for cases, forms, or templates.
Pro-Tip
MerusCase filtering has very powerful Search and Filter Tricks available to you, such as Custom Filter Shortcuts, powerful keywords, Preset Filters and even more!To remove a filter, click on the added filter button (each applied filter appears as a button underneath the Search/Filter bar). For example, to remove the filter for open cases, click on the button Status: Open underneath the Search/Filter bar.
Workflow
MerusCase Workflows allow users to seamlessly automate repeated tasks and events for different members of your firm. Workflows can be triggered by an Activity Tag or a description on an activity.
Pro-Tip
The date on any item (task or event) linked to the triggering Workflow will be used if available, otherwise the date the Workflow is triggered is used. For example, a Statute Set Case Activity will use the underlying calendar entry date, not the current date.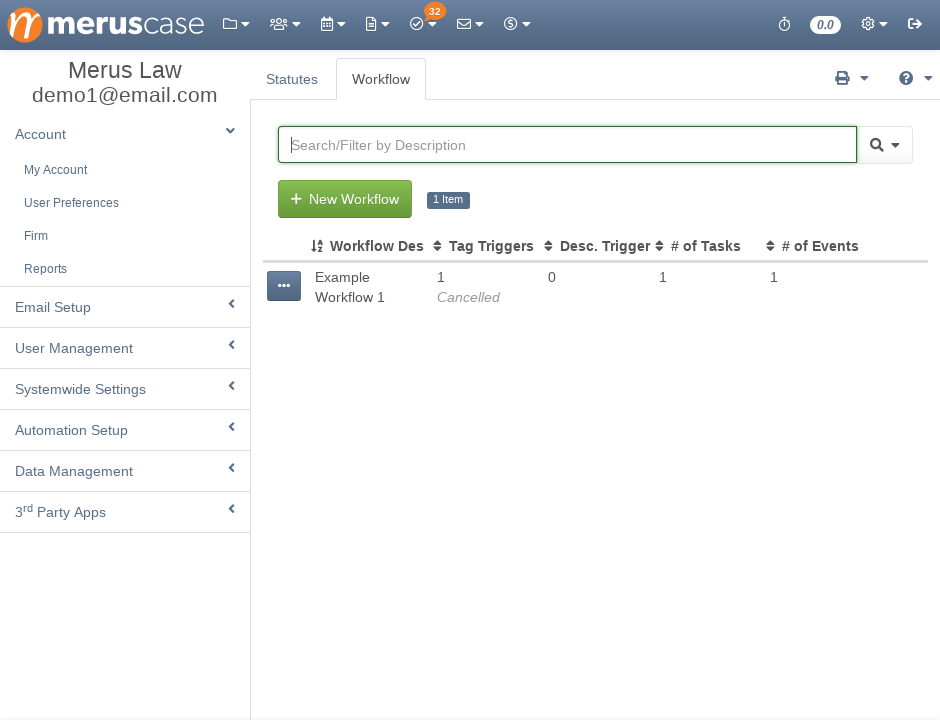
Adding a New Workflow
To add a new Workflow click on the New Workflow button.
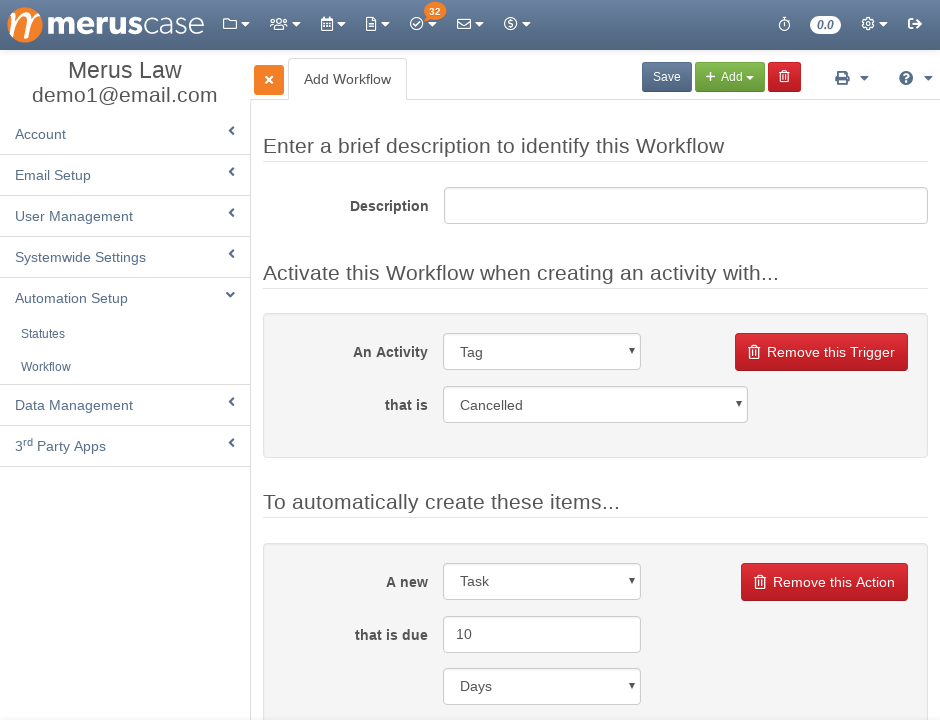
If you want to trigger a Workflow by an Activity Tag, choose Tag from the first dropdown menu. Then select the desired tag from the secondary dropdown menu. The chosen activity tag is what triggers the current Workflow upon creation of a new activity.
If you want to trigger a workflow based on an activity’s description, select Description from the dropdown. Enter the text you want to use as the trigger in the space allowed. Email subject lines are included in the description of activities with the Message tag, so you can use subject lines to trigger Workflows. The description triggers are not case-sensitive.
Workflows can have multiple triggers as well. You may use activity tag triggers or description triggers, or a combination of both. All trigger requirements on a single Workflow must be satisfied in order for the Workflow to take effect. If you want to trigger a Workflow from any of a list of triggers, simply create an identical Workflow for each of the triggers.
Warning
Workflows will generate tasks and events whenever their triggering criteria are met. Activities such as linking messages to cases, uploading documents, and saving merged documents can all trigger workflows with their associated tags or descriptions. Avoid using common activity tags or overly-general description text as triggers to avoid having your Workflows generate too often.Add Tasks and Events as desired to this workflow as actions. Any tasks associated to a Workflow must include a task description and priority. To add more actions to a workflow, click on the Add Trigger/Action button located next to Save and select Additional Action.
Click Save once all necessary information has been entered.
Note
A workflow can have an unlimited number of events and tasks. See documentation on events and tasks for more details.Pro-Tip
The workflow will only be spawned when the chosen activity tag or description is used upon creation of the activity. This means that a user cannot add the chosen activity tag or description to an existing activity for the workflow to be triggered.Editing a Workflow
-
Click on the line item you want to edit.
-
Edit the fields as necessary and click Save.
Deleting a Workflow
For many tables in MerusCase, there will be what’s called a control column. The color of the control column will change based on the theme being used, but it will consistently display three dots in the form of an ellipsis.
This control column is where additional options for each line item will be.
To delete, click on the Control Column (displayed as three little dots) next to the desired line item and select Delete.
Generally, anytime a user deletes an item, a popup message will appear asking for confirmation from the user.
Filtering Workflows
Any table in MerusCase allows for filtering across any of the columns on your screen to provide the user a tailored list within the system. In other words, use the filter to quickly find a specific line item within the table.
Additionally, MerusCase supports the use of multiple filters at once. For instance, a user can search for all open (by the Case Status column) cases within Browse Cases and then apply a second filter to then search for Assigned to Me (by the Staff column) within those open cases.
To apply multiple filters, enter the first filter then click on the magnifying glass. On click, a drop-down window will appear. Click Add Filter and toggle what to filter by.
Select Always use this column if you wish to always use the same filter type. Many firms find it particularly useful to select this option when filtering for cases, forms, or templates.
Pro-Tip
MerusCase filtering has very powerful Search and Filter Tricks available to you, such as Custom Filter Shortcuts, powerful keywords, Preset Filters and even more!To remove a filter, click on the added filter button (each applied filter appears as a button underneath the Search/Filter bar). For example, to remove the filter for open cases, click on the button Status: Open underneath the Search/Filter bar.