Activity Tab
The activity tab shows the entire history of a case in chronological order. Case activities track every important occurence or action in a case such as telephone calls, events, documents, memos, and more. Activities can manually be entered as well as automatically created within the system.
The Activity Tab is only available from within a Case.
Pro-Tip
By default, the default case tab is set to Case Details, however, you can change the default tab to always display Activities when you enter a case via User Preferences.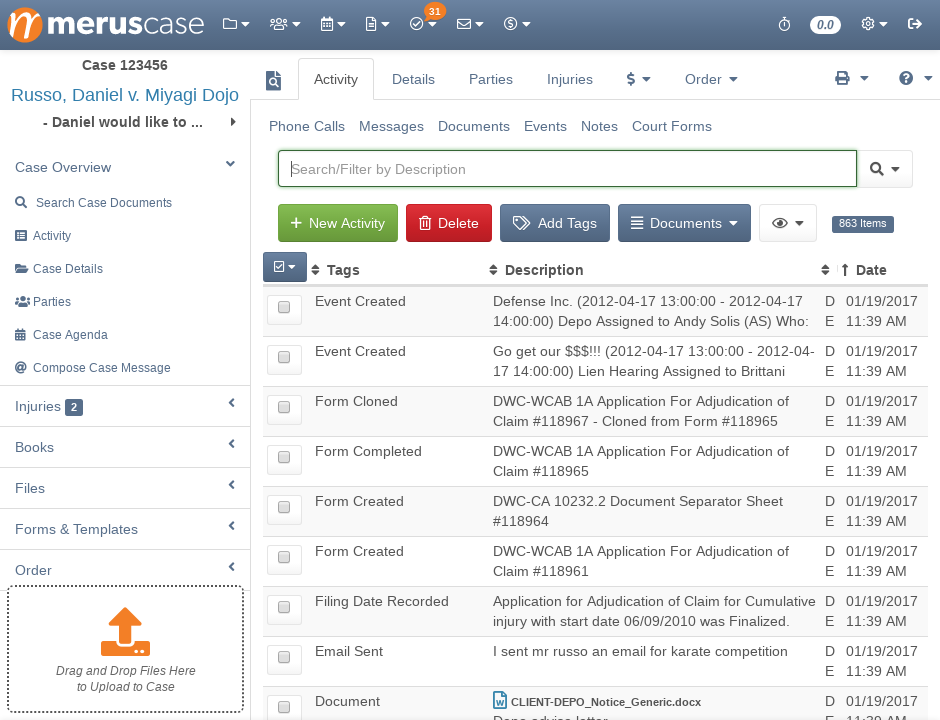
Note
Certain activities are not editable because they are generated by the system. Additionally, some privileges, such as editing an activity created by another firm member, are limited to certain user levels.Adding a New Activity
-
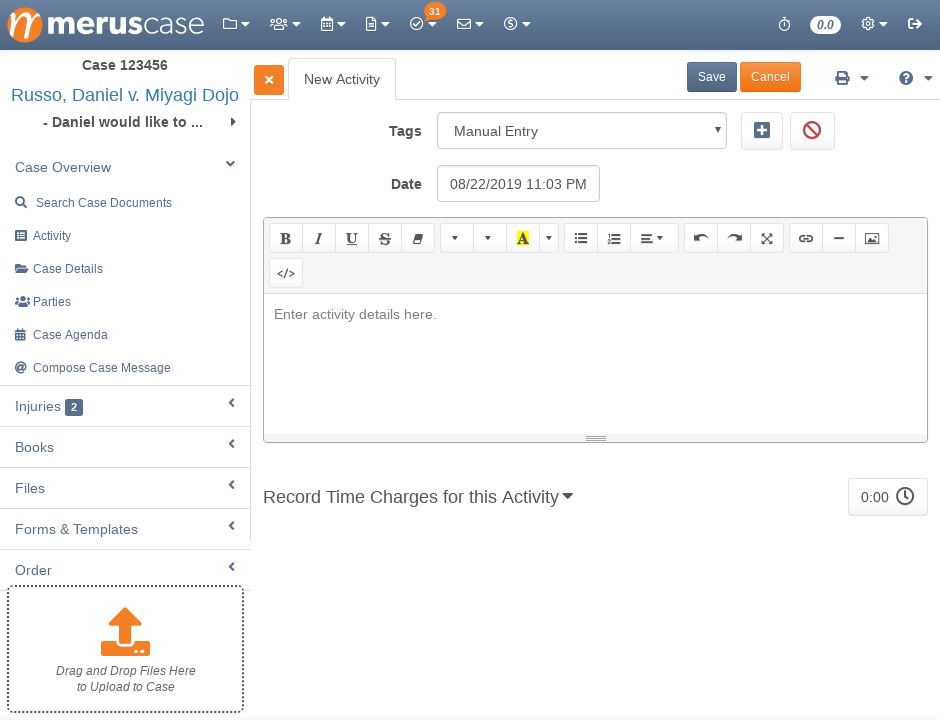
Click the New Activity button. New Activity is also available on the Cases menu on the main navigation bar.
-
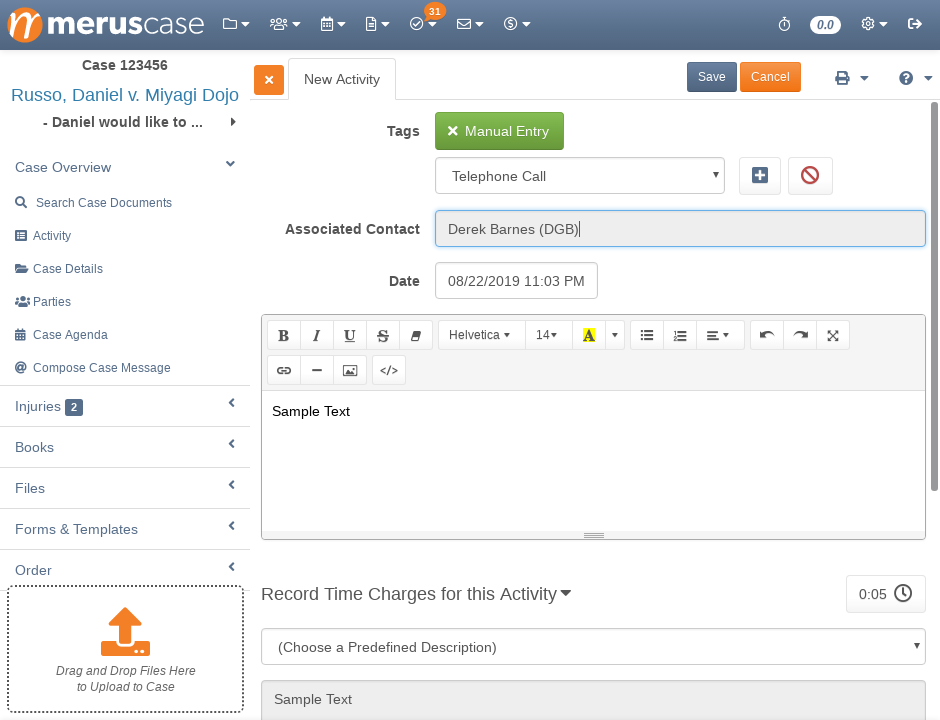
On click, the edit/create case activity view appears.
-
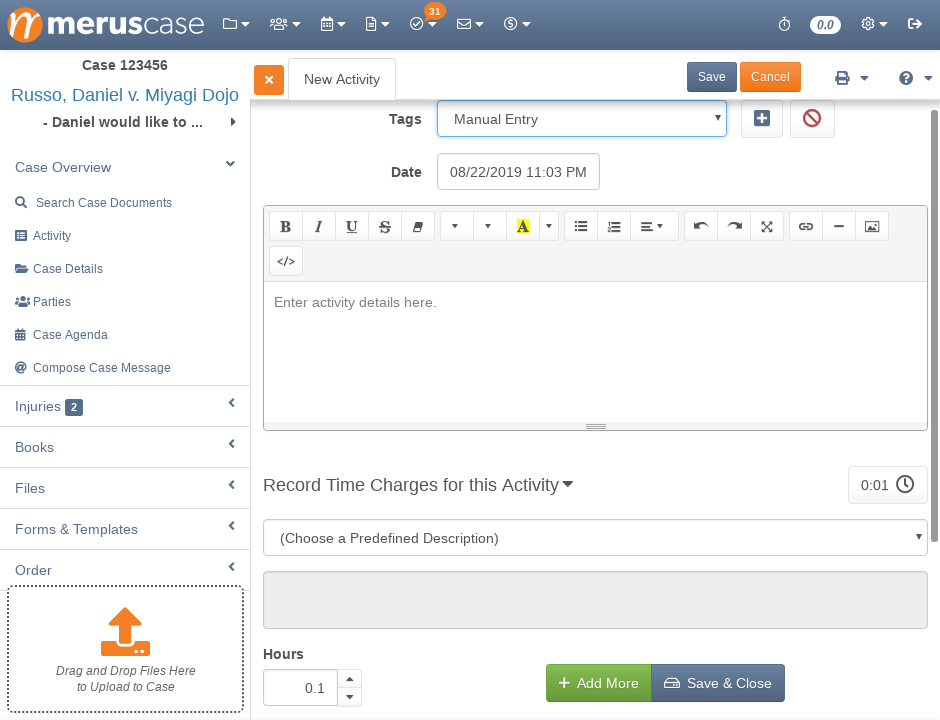
Select an activity tag from the drop-down menu. Activity tags are labels that make activities easy to filter and view in the future. To add multiple activity tags to an activity, click the “+”. Custom activity tags can be created in System Preferences.
-
In the text box, add or edit notes and details pertaining to the activity.
-
Click Save.
Pro-Tip
Always creating activities with the same Activity Tag? Be sure to save time for your future self by setting up your Default Case Activity Tag in User Preferences. Now, each time you create a new activity, the tag you set as the default (e.g. Telephone Call) will always be selected rather than the Manual Entry tag.Note
You can Record Time Charges while logging a new activity.Adding a New Activity from the Cases Menu
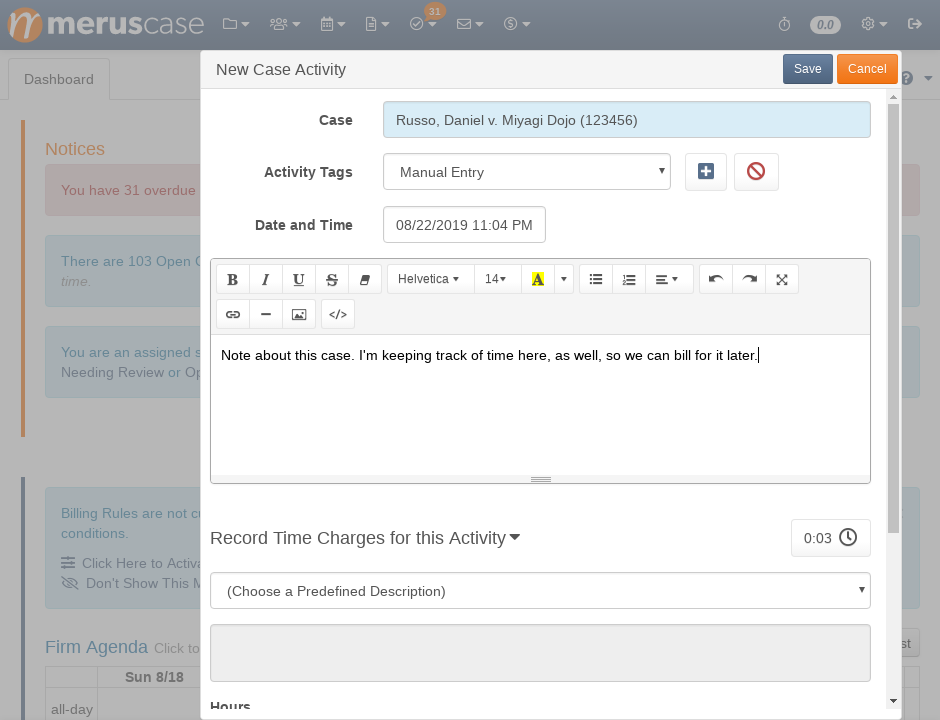
To add a new activity from anywhere in the system (and make efficient use of your time!), click on New Activity from the Cases drop-down menu.
Upon clicking, a popup window will appear on your screen allowing you to input the case, tag(s), and a description - all without navigating away from your current screen.
Note
The Case field will automatically be populated if you are already in a case. However, it is possible to delete that case and select another from this screen. If you are not currently in a case, this field will be blank upon appearing.Editing an Activity
-
Click on the line item you want to edit.
-
Edit the fields as necessary and click Save.
Note
Editing an activity does not initiate Workflows. Only newly created activities that meet workflow conditions will kick off workflows.Select Everything or Select None
To make it easy to perform tasks in bulk, MerusCase has a dropdown menu available which allows the user to select all of the activities or deselect all of the activities simultaneously. Simply click the checkbox-like icon above the column of checkboxes to see the options Select None and Select Everything.
Note that this will only apply to activities which you’ve currently filtered for (i.e. which are displayed on your screen at this moment).
Deleting an Activity
If an activity was logged in a case in error, in order to keep the running history of the case accurate, it may be necessary to delete a case activity.
-
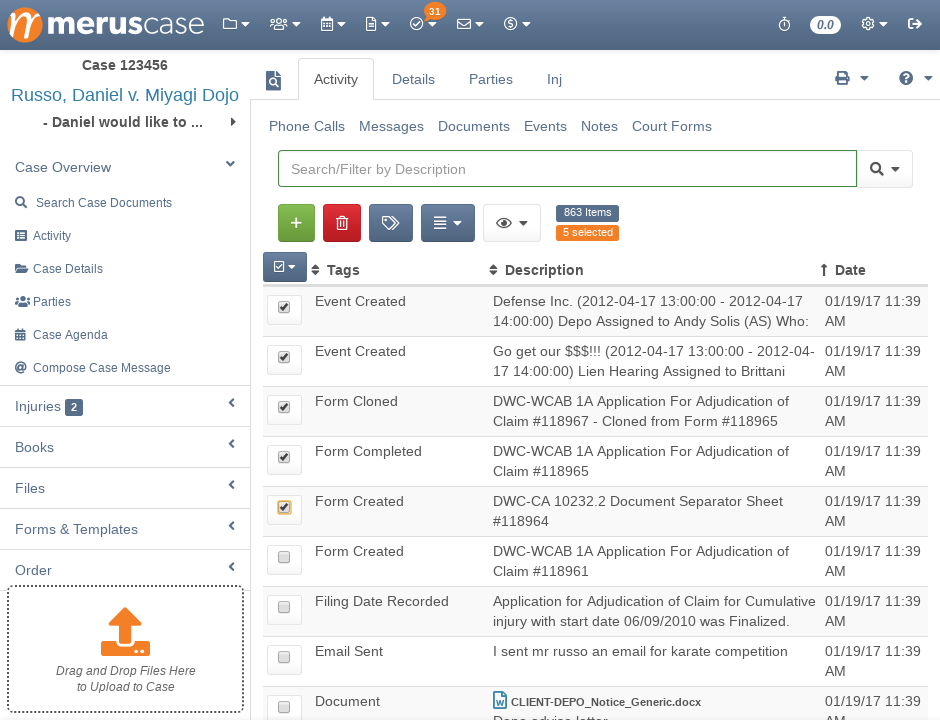
Select the activity, or multiple activities, to be deleted by checking the box to the left of the activity.
-
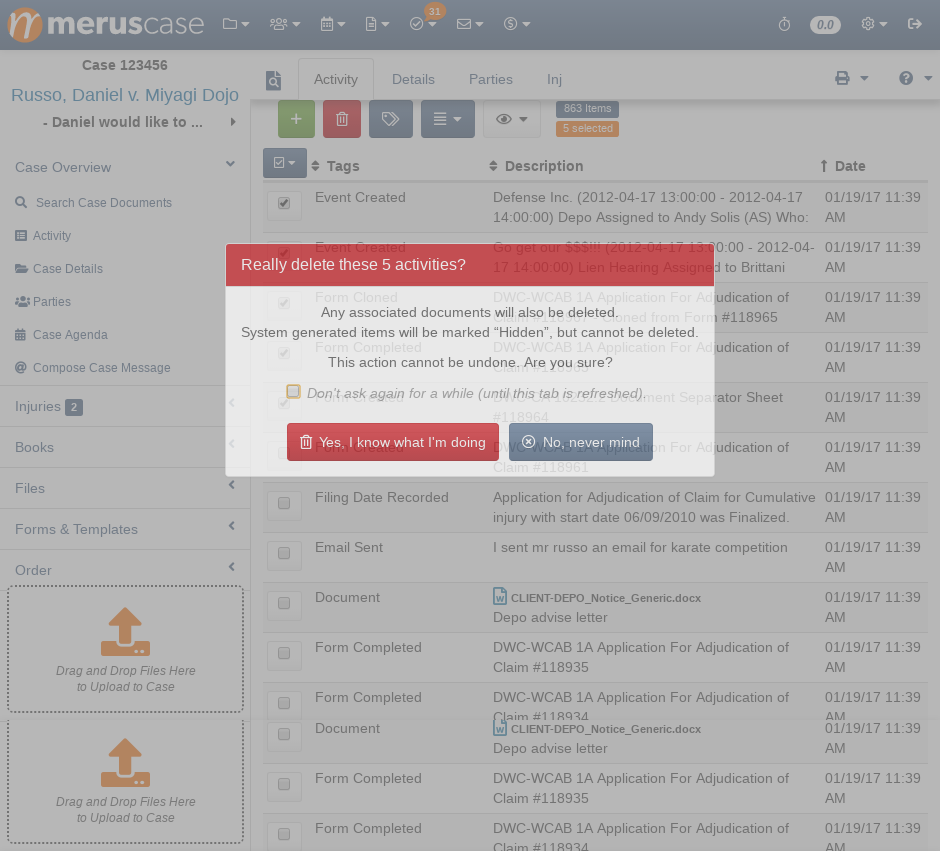
Click Delete below the filter bar and confirm the deletion when prompted.
Finding Activities via Filtering & Custom Filter Shortcuts
Filter
Any table in MerusCase allows for filtering across any of the columns on your screen to provide the user a tailored list within the system. In other words, use the filter to quickly find a specific line item within the table.
Additionally, MerusCase supports the use of multiple filters at once. For instance, a user can search for all open (by the Case Status column) cases within Browse Cases and then apply a second filter to then search for Assigned to Me (by the Staff column) within those open cases.
To apply multiple filters, enter the first filter then click on the magnifying glass. On click, a drop-down window will appear. Click Add Filter and toggle what to filter by.
Select Always use this column if you wish to always use the same filter type. Many firms find it particularly useful to select this option when filtering for cases, forms, or templates.
Pro-Tip
MerusCase filtering has very powerful Search and Filter Tricks available to you, such as Custom Filter Shortcuts, powerful keywords, Preset Filters and even more!To remove a filter, click on the added filter button (each applied filter appears as a button underneath the Search/Filter bar). For example, to remove the filter for open cases, click on the button Status: Open underneath the Search/Filter bar.
Combine Documents
You can turn multiple documents and messages (emails) within MerusCase into a single PDF Document or Zip Archive on a given case’s Activity tab. This may be useful if your firm has received a large report or cluster of documents that was delivered or uploaded in segments, or if you want to consolidate documents and emails. Use the combine documents button to turn those segments into a single cohesive PDF.
- Select the document and/or emails to be combined by checking the box to the left of the activity for each one.
-
Click Documents, right below the search bar.
-
Click Combine (into single PDF or Zip Archive).
-
Here, you will see a few options:
- Create PDF: Create a single, combined PDF of the documents you selected.
- Create Zip Archive: Create a .zip file containing all of the selected documents. Such files (.zip, .rar, .7z, and so forth), known as archives, are much smaller than the sum of their parts and thus useful for emailing or otherwise sharing large and/or numerous documents.
- Cancel: Cancels the combining of documents and takes you back to the Activities tab.
Note
If you combine documents where the resulting merged file exceeds MerusCase's 128MB limit on filesize, it may slow down loading of the Activity tab or even entirely fail to combine.Forward Documents
Documents and emails can be forwarded via email right from the Activity List.
-
Select the documents to be forwarded by checking the box to the left of the activity for each one.
-
Click Documents below the search bar.
-
Click Forward (via email), and compose your message.
Reply, Reply All, & Forward Messages
Users can view, reply to, and/or forward messages directly from the Activity Tab.
-
Locate and click on the message to view.
-
On Click, the message will appear.
-
Click Reply, Reply to All, or Forward directly from the activities view, and compose your message.
