Court Rules Integration with CalendarRules How-To Guide
Sign-up & Linking Accounts
You can now link your CalendarRules account directly to your MerusCase account in a few easy steps. If you do not have an existing CalendarRules account, you can sign-up for a new account through MerusCase as well.
Linking an existing CalendarRules Account
First, access our 3rd Party Integrations page by going to Tools & Settings > 3rd Party Apps > CalendarRules.

From this page, you have the option to “Learn More”, Sign-Up, or Link your Account.
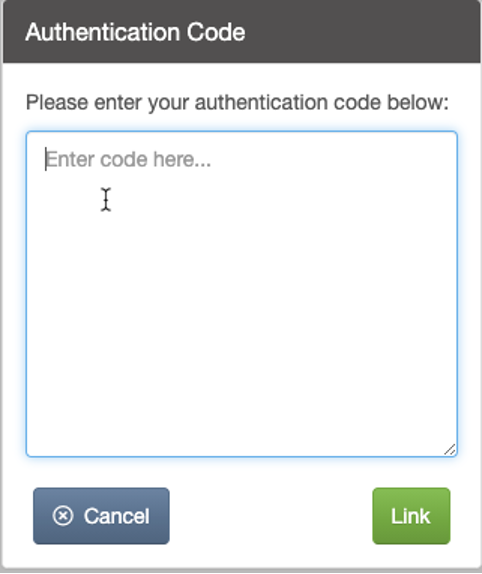
By selecting “Link Account” you’ll be prompted to enter the authentication code that you received from CalendarRules (usually via email) and then paste it into the Authentication Code pop-up window and click “Link”.
Once you’ve Linked your account, you will have access to all the CalendarRules jurisdictions you subscribe to.
Signing up for a new CalendarRules Account
By selecting “Sign-up” you’ll be redirected to a page that will allow you to select which jurisdiction(s) you’d like to subscribe to and will proceed with the process with the CalendarRules team. They will send you an Authentication Code that you can access by coming back to this page to select “Link Account”.
Using CalendarRules in MerusCase - Triggers, Rules, & Events
Once you’ve linked your CalendarRules account with your MerusCase account you will have the opportunity to select from your subscribed jurisdictions (note: jurisdictions are determined by your subscription with CalendarRules), and assign rules based on a selected trigger event to your selected case.
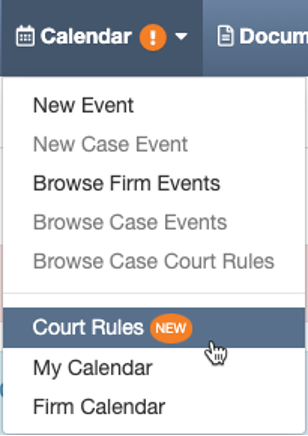
In order to do this, you’ll select “Calendar” from the top navigation bar and then select “Court Rules”
Once you’ve selected “Court Rules”, you’ll be redirected to the new Court Rules page to select a case to apply the rules to (refer to the numbered steps in the screenshots below)
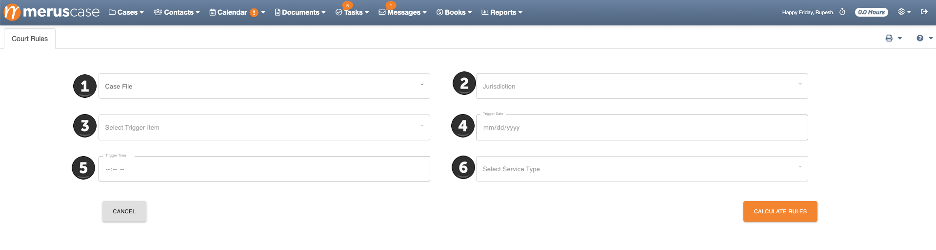
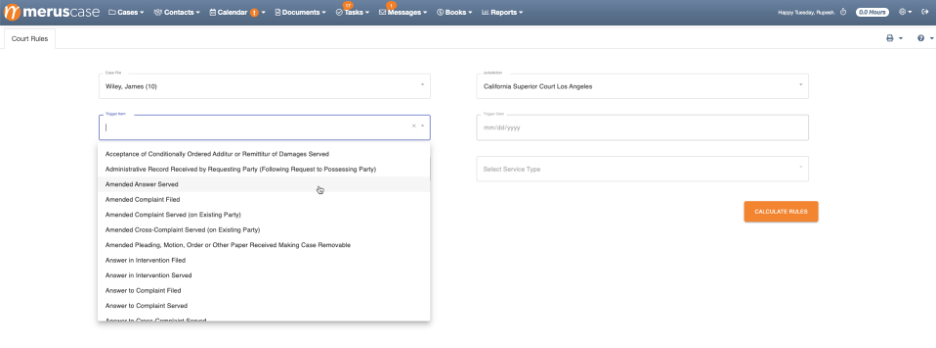
From this page you’ll select the appropriate case (step 1);

and the desired jurisdiction (step 2);


Once you’ve selected the appropriate case and jurisdiction, you’ll have to select the primary trigger that you want to pull down and apply to your case (step 3);

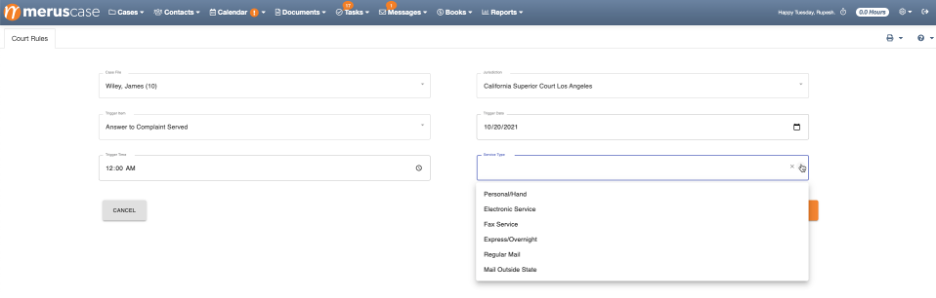
Upon selecting the primary trigger for this case, you’ll need to select a date (step 4);

And then the time (step 5);

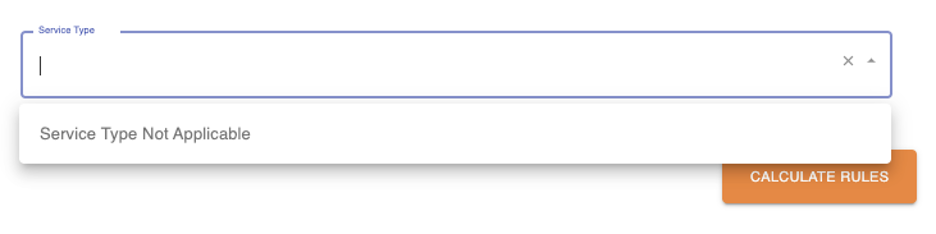
If applicable some primary triggers will require you to select a “Service Type” (step 6). Please note that many trigger types do NOT require a “Service Type,” which would then be stated as such (refer to example screenshots).

With Service Type:

Without Service Type:
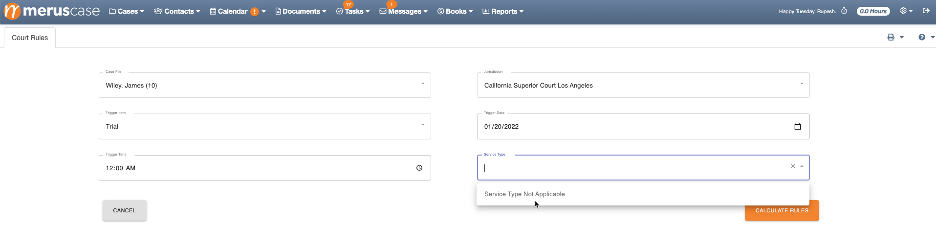
Once you’ve made all of the required requests, you’ll then select “Calculate Rules”. Note: This does NOT apply the rules to your case, this allows you to first view and modify the rules before applying to your selected case:
Calculate Rules
Now that you’ve successfully pulled down the rules based on your selected primary trigger, you’ll be able to view and modify before adding to a case. We allow several options to support your firm’s workflow;
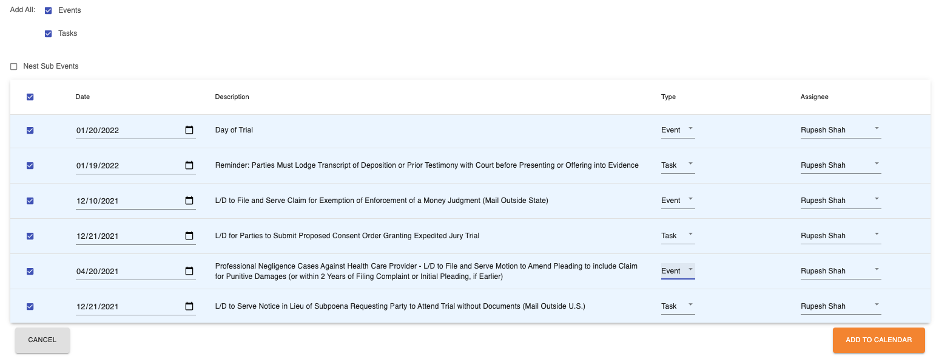
Options to modify before applying rules to your case:
● Select which Rules to include (check or uncheck desired boxes)
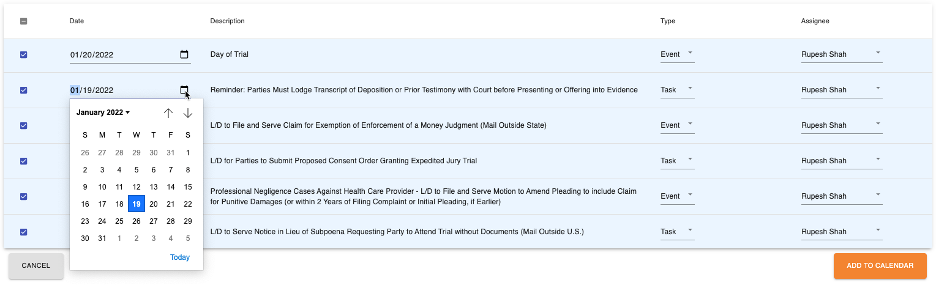
● Change the Date for specific rules
● Change the type from Task to Event
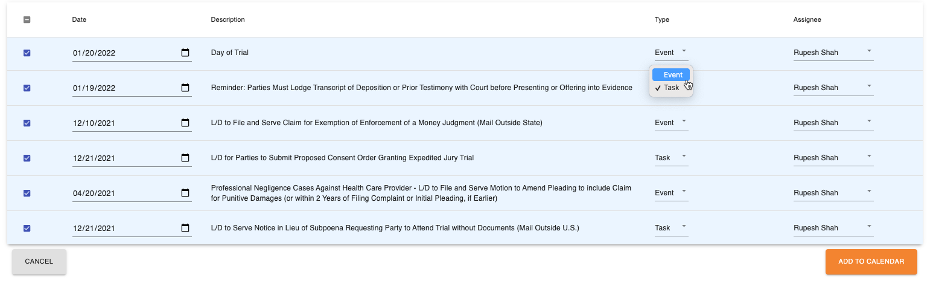
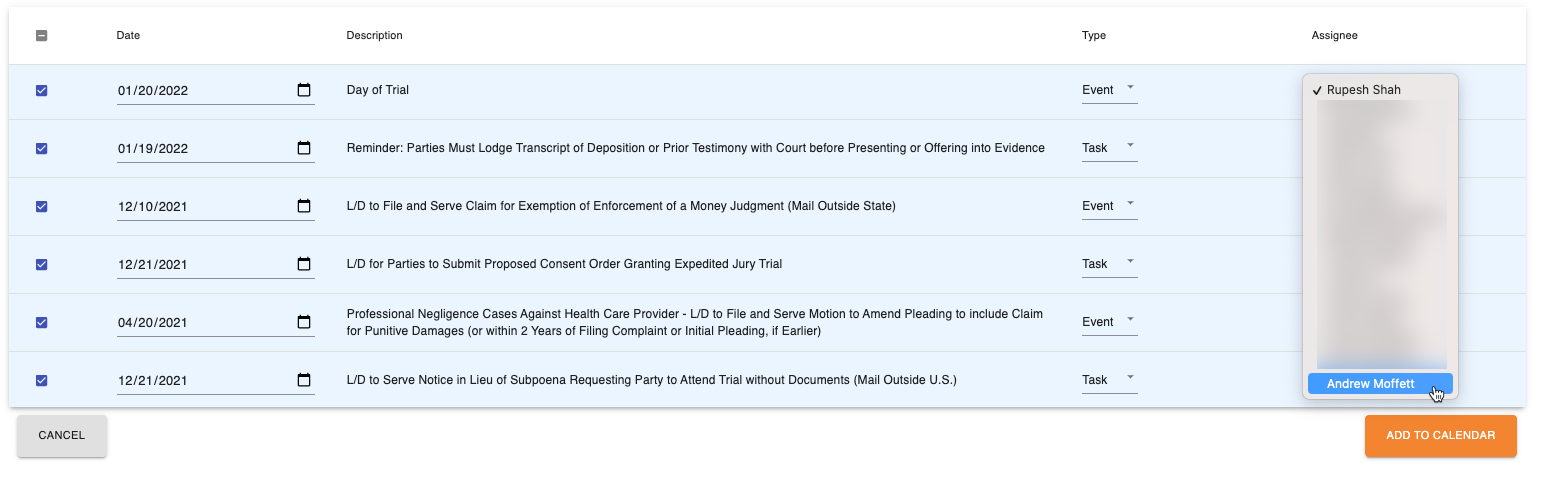
● Change the Assignee
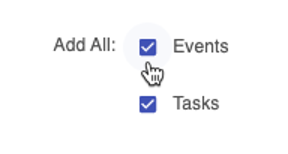
● Select All Events or Tasks to incorporate in bulk
Once you’ve made your desired changes and selections, you’ll add the items to your selected case calendar by clicking on the “Add to Calendar” button. The rules, dates, types, and assignees you have selected will be added to your case and will be viewable within your Case Agenda that lives within that case.

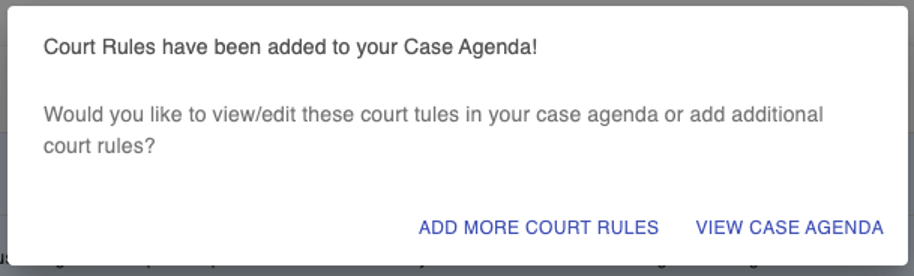
Once you have selected to add these to your calendar you’ll be prompted with two options: to either “Add More Court Rules” to the same case or a different case, or you can “View Case Agenda” where these rules you just added will be housed.
Case View & Case Agenda
Now that you’ve successfully applied the selected court rules to a case, you’ll be able to view these rules and make edits from within the case via the Case Agenda.
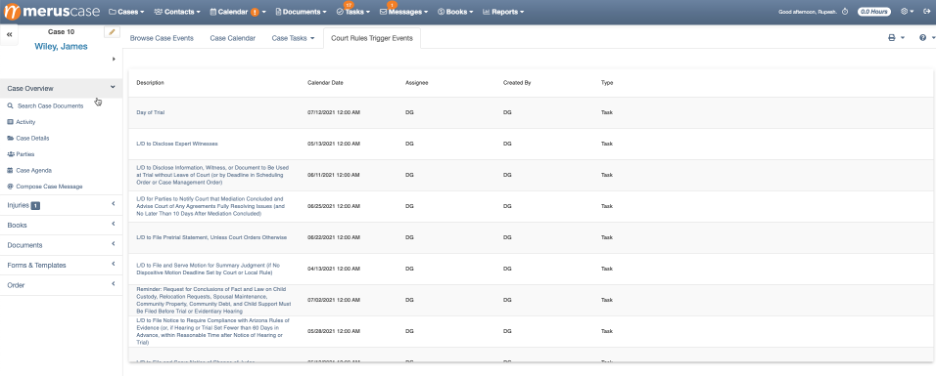
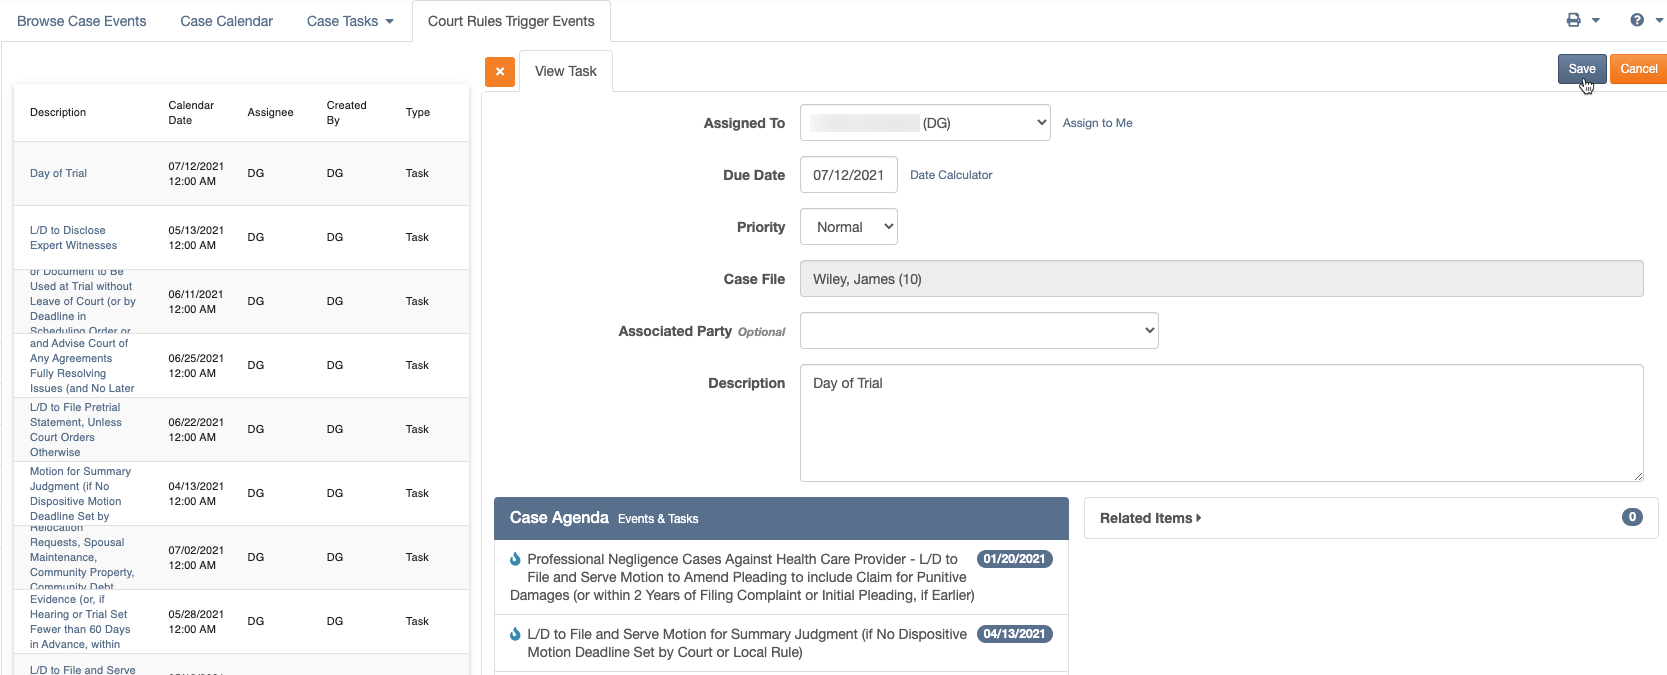
All current functionalities will be supported with these rules as with other Events. You’ll be able to select any rule and make changes to the date, the assignee, the rule description, even view the primary trigger for greater visibility.
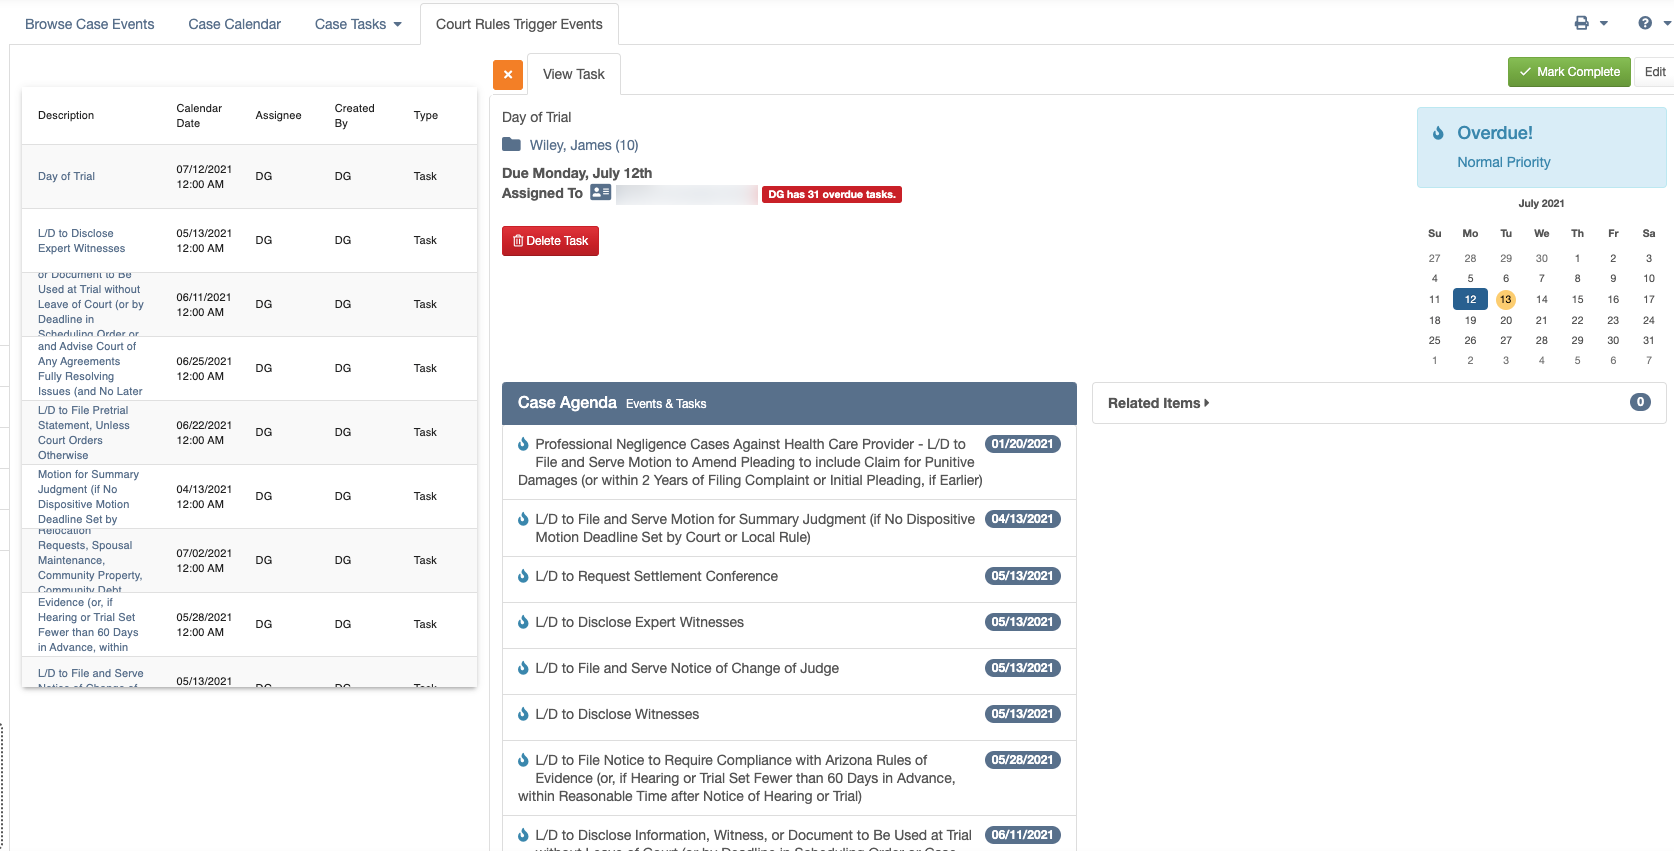
If you want to make changes, it’s as easy as always: simply select “Edit” at the top right of the screen and make the desired changes. Remember to select “Save” as this will then apply the changes to that specific rule.
You’ll be able to add as many rule sets to a given case that are needed. You’ll also be able to access as many jurisdictions that you subscribed to with CalendarRules.
For additional support about CalendarRules specifically, you can always reach out to the CalendarRules team:
Website: https://www.calendarrules.com/help-center
Email: [email protected]
Phone Number: 925-322-0424
If you have any questions about MerusCase specifically and how the CalendarRules integration is supported within MerusCase, you can contact our support team.